OpenSwitch Containers ♥ GNS3

In one of my previous articles, I elaborated on a setup to create DC fabric simulations with GNS3 and OpenSwitch. I also promised to follow up with some post about using Ansible with it.
Well, I have been a bit distracted with some changes to the setup before moving into the Ansible details (to say true, I got the Ansible article almost ready, but things are moving so fast, that I keep rewriting it).
One of the things that ‘change everything’ recently was the release of GNS3 1.5. This is a great release that includes several features that makes using OpenSwitch with GNS3 awesome:
- Support for Docker containers! This enables OpenSwitch to be a container instead of
a VM, allowing to scale better:
- This obviously consumes less RAM memory and use it more efficiently.
- We are no longer limited to 8 ports per node (VirtualBox’s restriction), but instead we can have as many ports as you want. Even more, the OpenSwitch Appliance container will change the number of ports available, based on the GNS3 configuration.
- Support for portable projects! Now you can export your project and shared it with others (restrictions apply).
Let’s see how to use this new release with OpenSwitch Appliance Container.
Using the GNS3 VM
The first recommendation when using the container setup for GNS3, is to use the GNS3 VM (even when using a native Linux host). Why?
- Well, for running containers on Linux or Windows, you need the GNS3 VM.
Yeah, even if you have docker for Linux/Windows, GNS3 can create the virtual interfaces for them on these platforms.
- Right now the only way to create a portable way to connect to the external world is to use the GNS3 Internet VM Appliance, and this only works inside the GNS3 VM.
- With GNS3 1.5, you can setup a remote GNS3 VM machine, allowing to deploy a powerful VM for running your simulations without starving your laptop.
- Also with the GNS3 VM, there is a simplified process for setting up a proxy when working in a corporate environment.
Since we will be using qemu appliances inside the GNS3 VM, you need a virtualization platform that supports nested virtualization. That means you are either using a VMware desktop solution (Workstation, Player or Fusion), or if using ESXi, be sure to enable the VHV flag.
Installing the GNS3 VM
Download the VM from here. Be sure to download the right image for either desktop solution or ESXi.
You will need at least version 1.5.0, but if you are behind a corporate firewall, you will need version 1.5.1 that fixes a bug when configuring the proxy settings.
After downloading the GNS3 VM appliance, import it into your virtualization solution, and reconfigure with this minimal hardware requirements:
- 512MB of RAM for every OpenSwitch container that you plan to run. For our examples 6GB of RAM should be enough.
- 2 CPU cores. If you can afford more, the better.
If you are behind a corporate firewall, be sure to turn on the VM, and using the menu displayed when the VM boots, configure the proxy settings.

Configure GNS3 to use the VM
If you haven’t already, install GNS3 downloading from here (be sure to use the same version as the VM image that you downloaded).
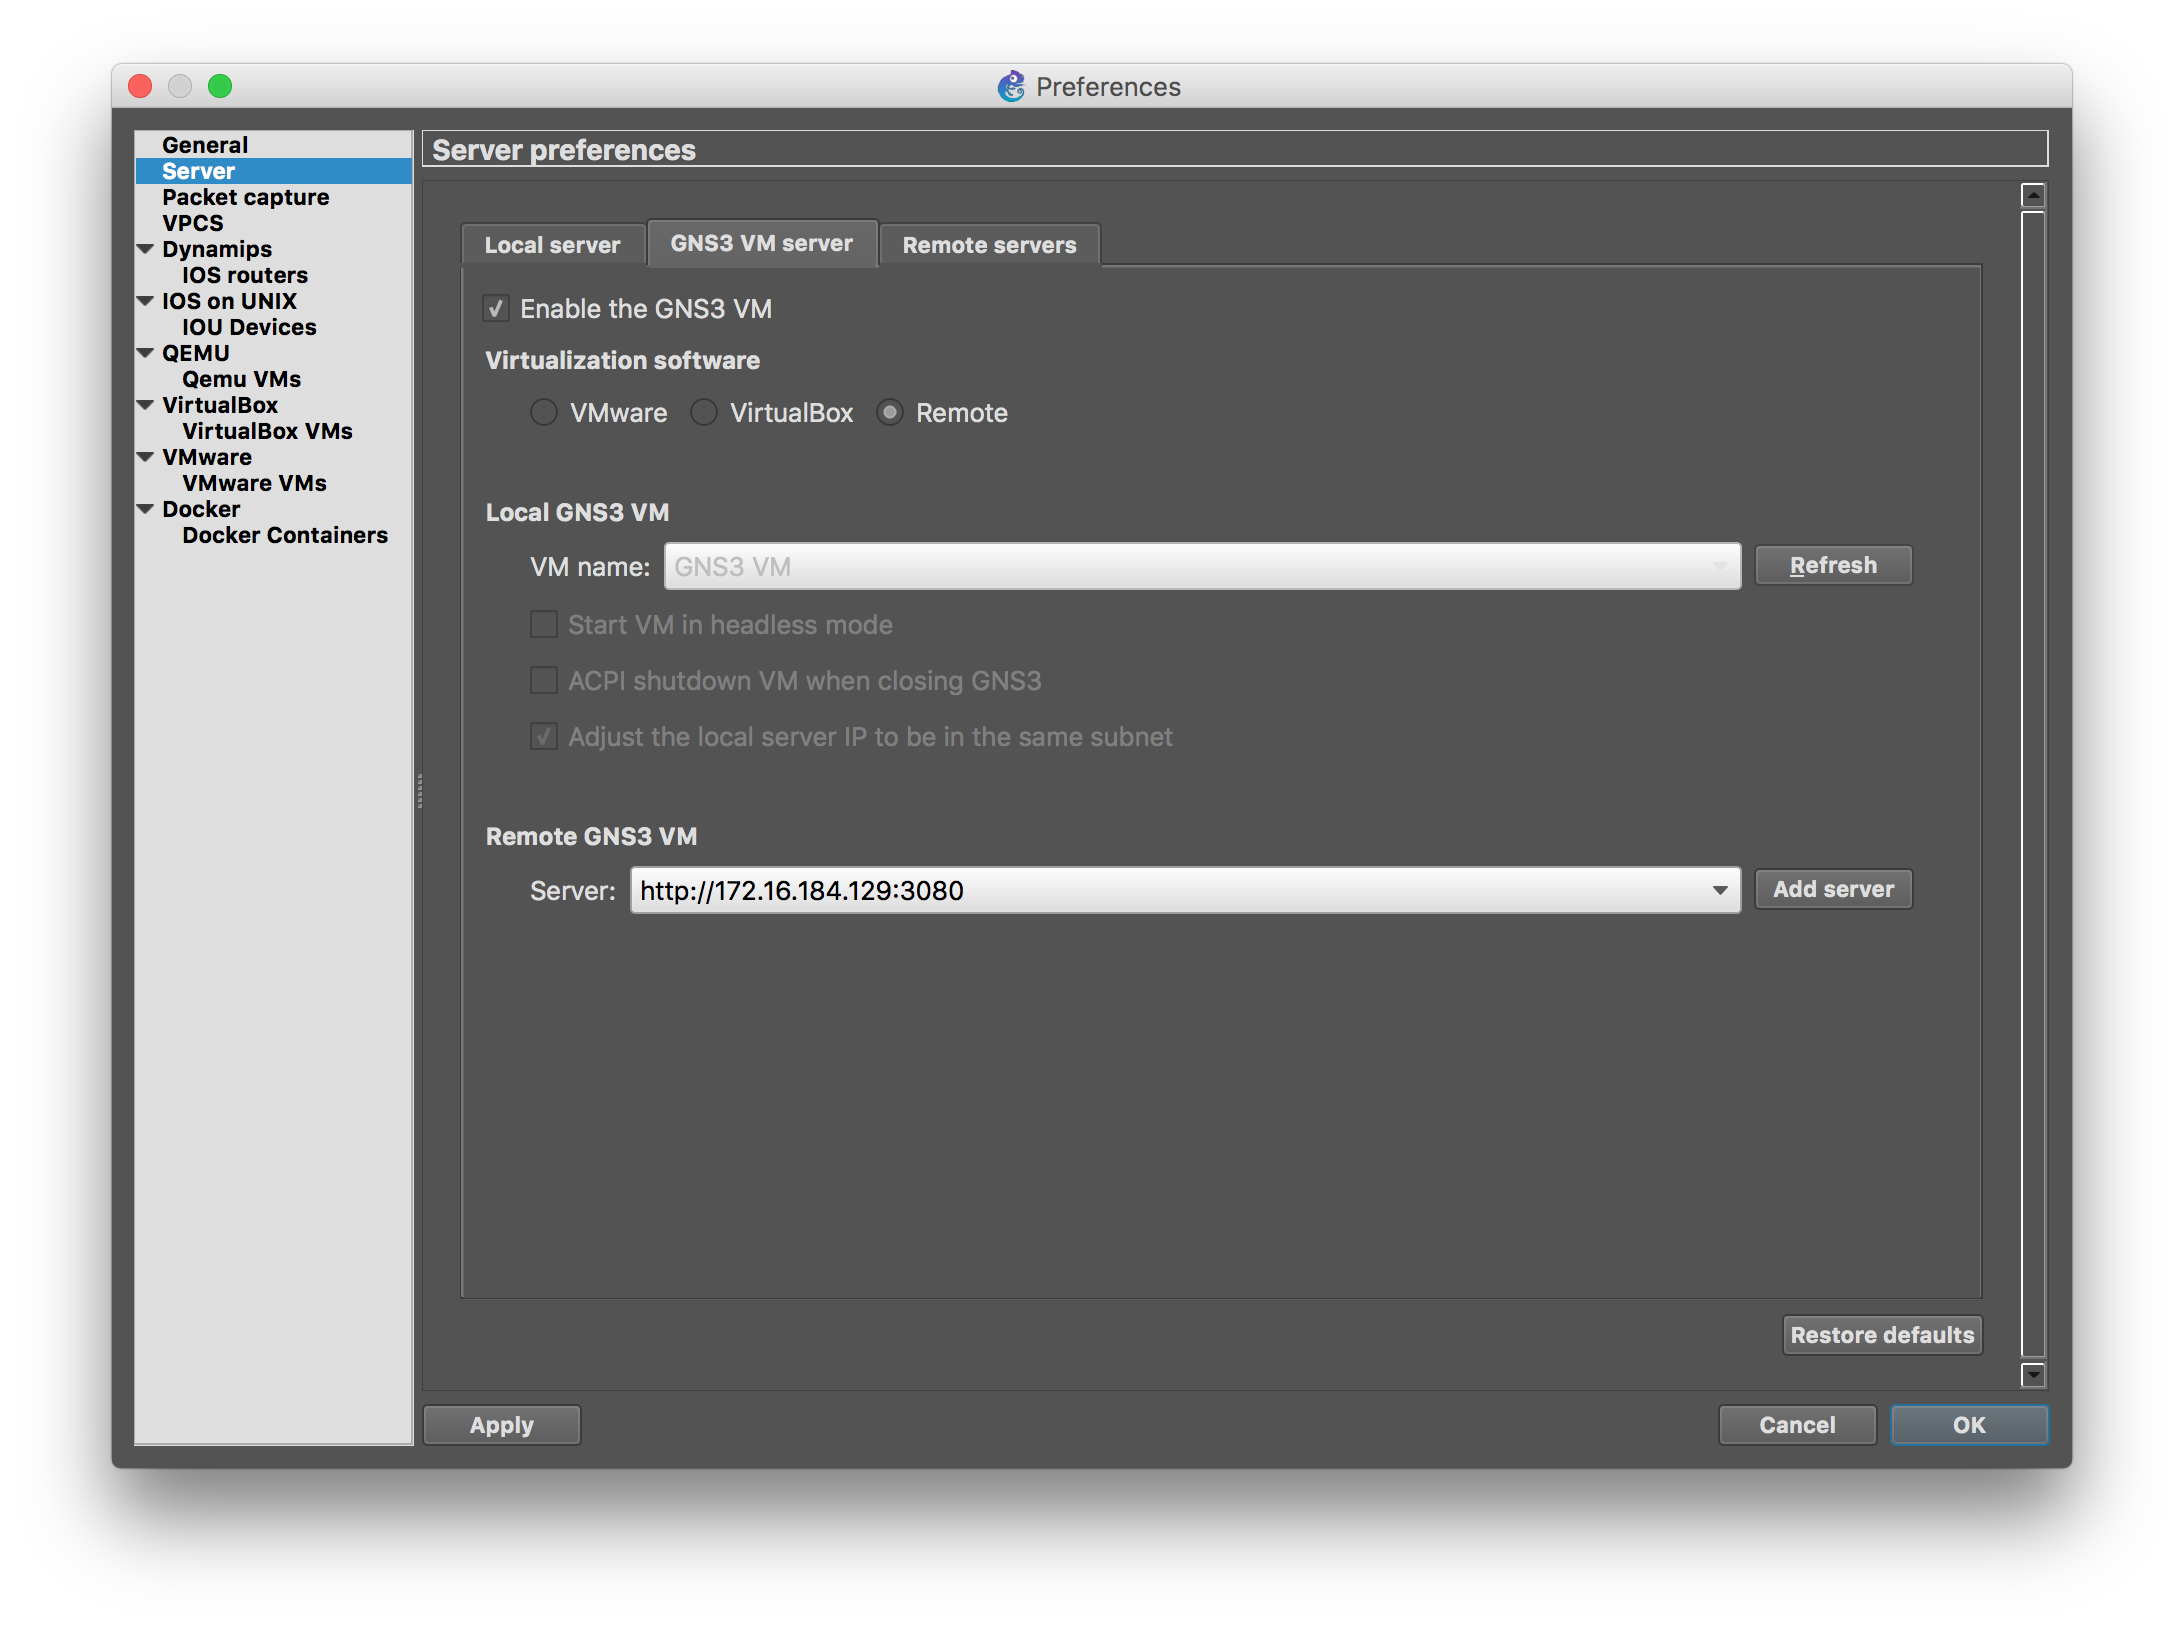
When configuring GNS3, the wizard doesn’t allow you to configure a remote server GNS3 VM, but you can abort the wizard, and add it later from the preferences panel (the IP address of the VM is show on the information page displayed by the VM on boot, or available from the text menu on the VM as well).

Using the OpenSwitch Docker Appliance with GNS3
In order to use OpenSwitch as a container with GNS3, you have to main options: use an existing image (easier one), or build a custom one from scratch (useful for developers).
Using an Existing OpenSwitch Container Image
Let’s focus on the simple procedure first. Fortunately we no longer need to specify multiple parameters on the UI to create a template, since for Docker containers we can use a pre-defined template appliance (.gns3a file), that will do all the configuration for you.
First, download a GNS3 appliance template from the list available here.
Next, import it into GNS3: there is a new ‘Import appliance template’ button under the device panel.

Select ‘Import an appliance template file’

Select the template that you downloaded, and follow the rest of the wizard. Select to run on the remote server running the GNS3 VM.


Once you are done with the import, you can download a custom stencil for OpenSwitch Docker Appliance from here, and customize the template to use it.
The template uses by default 8 ports, but that can be adjusted in per machine instance.
That’s all it takes, you are ready to drag & drop container instances into GNS3!
Creating a custom Container Image
In the previous step where we used the .gns3a file, it points to a published version of the container in the Docker Hub, but you may want to create your own container from scratch with the latest code or modifications. If that is not the case, you can skip this section.
First you will have to build an image for the appliance target as explained in previous articles (you can also download the tarball for a periodic build from the artifact archives).
Now, the default tarball created for the appliance is designed to run in a VM, so it needs some small modifications to run properly on a container. I have automated the steps in a docker file here.
Here are the example commands to create a custom image with the latest code from
master and push into the docker hub (in this example I use my docker hub account):
1
2
3
4
5
6
mkdir ops-gns3-docker
curl https://archive.openswitch.net/artifacts/periodic/master/latest/appliance/openswitch-appliance-image-appliance-ops-0.4.0-master+2016063012.tar.gz > openswitch-appliance-image.tar.gz
wget https://raw.githubusercontent.com/ddompe/ops-gns3-docker/master/openswitch/Dockerfile
docker build -t ddompe/openswitch-appliance:latest .
docker login
docker push ddompe/openswitch-appliance:latest
Now you can modify the gns3a file provided in the previous step and point to your customized image to import it into GNS3.
Creating a topology for Ansible experimentation
Now, let’s create a topology for creating a DC Fabric simulation with Ansible similar to the one described in the previous article using virtual machine appliances.
I have created a docker container that already automated all the steps detailed in the previous article, and is suitable to be run as a systemd container. The Dockerfile could be found here, and the GNS3 template file here.
Unlike the previous examples using VirtualBox, we cannot longer use the cloud element to get a NAT connection to the external world, so instead we will use the GNS3 Internet VM Appliance.
After installing those two templates, we can recreate the DC fabric similar to the one from the previous article, with the difference that is (almost) all containers.

Sharing portable projects
Now comes another cool part, you can export and import the project to share with others.
So, you can export the project by using ‘Export portable project’ on the file menu. It will ask you if you wan to include any base image, which for our example I would recommend we do (this will pack the qemu image used by the GNS3 Internet Appliance). Docker images won’t get included on the file, but instead will be automatically downloaded from the docker hub when someone imports the project.
Talking about importing the project back, there is currently a bug when importing the project and downloading the docker images, where certain imports may timeout. This is fixed for 1.5.1, but in the meantime you can workaround by deleting the project that failed to import and re-import it again (since the docker images should be already downloaded, it won’t fail the second time).
The portable project file for the example on this article is here, in case you want to get up an running.
Next Steps
Isn’t all of this really exciting? Thanks to the GNS3 team for their awesome work and their responsiveness to fix the bug/enhancements that I keep throwing at them.
In the next article I will continue with explaining how to use Ansible to deploy configuration to the topology we build here.
Stay tuned.